The Intex above-ground pools are well-liked by those who are fond of swimming, thanks to their excellent build and marvelous quality. They also have a fan base because of their ease of use and easy setting up. Nonetheless, above-ground pools have some drawbacks too, and a major one is that their legs can prove to be a nuisance.
Keeping in view that they support the entire weight of the pool, it is not uncommon for the legs to lose their form and bend. If the legs of your Intex pool are bent or buckled, here are some possible causes and their easy fixes to aid you.
Paver Blocks Not Used
If you have installed your Intex pool without placing paver blocks under the legs, it is very likely that the legs will bend. It is important to keep in mind that dirt, no matter how stiff, will turn into soft mud once water leaks into it. This will cause the legs to sink and not stay straight anymore.
The legs of a pool have to support the entire weight of the water in it, so it is imperative that they have a strong base beneath them. The absence of this base is a leading cause of the legs being bent.
The only way out of here is to get good quality, strong paver blocks to place under each leg of the Intex pool separately. You can get either wooden or concrete blocks. These have to be dug in the ground a little bit to ensure that they are similar in height and the pool stays level.
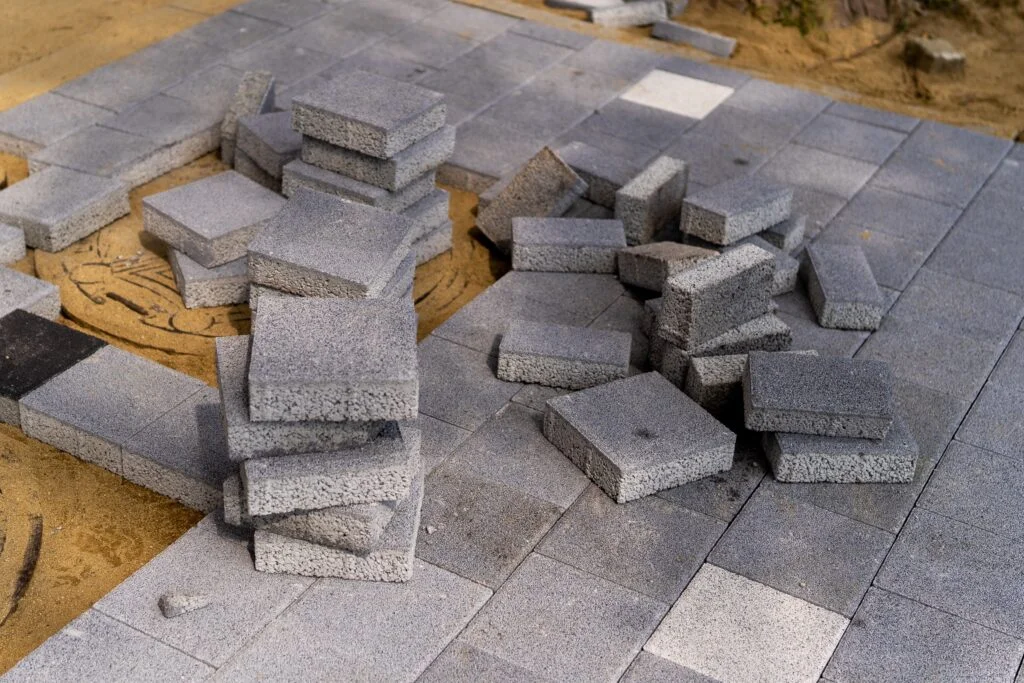
I highly recommend these decorative landscaping concrete stones for this purpose. These come with anchoring spikes which makes installation super easy.
Unequal Pool Water Level
This is a fairly common cause of the pool legs being bent or buckled and one that you need to rule out first. Sometimes, the water distribution in the pool is not equal and hence, the water is not level. This results in most of the weight of the water being shifted to the side with more water. Consequently, the pool legs on that side are under tremendous weight and tend to buckle.
In order to avoid this, you need to make sure that your Intex pool is on even ground and that the water in it is level when filled. The water levels have to be ideally within 1 inch on all sides. This will result in an equal distribution of weight on all legs so that they can easily support it. If you have already built and filled the pool, the only safe way out is to drain the water and fix this issue before using the pool.
Pool Legs Not Installed Straight During Construction
This might come as a surprise to you, but it is ridiculously common for pool legs not to be placed straight to begin with. This is mainly due to the fact that the legs extend outwards a little when the pool is filled, which has to be kept in mind and made allowance for when placing the legs. If the builder fails to do so, the legs are significantly bent when the pool is filled with water and pressure is exerted.
The solution to this issue is simply to move the legs into the correct alignment. You have to drain the water from the pool, and then move the leg to ensure that it is straight. Alternatively, you can use a jack to move the leg, if you own one. This will save you from the hassle of draining out the whole pool. This Arcan 3-Ton jack should do the trick.
Paver Block/Support Not the Correct Size
As we have mentioned before, paver blocks or any sort of supporting base is essential for the legs of the Intex pool, if they are to withstand the enormous water pressure without buckling. It is equally important that the base is of the correct size to adequately support the leg. If it is small and parts of the leg are left hanging in the air, it is possible for the leg to buckle due to water pressure.
To avoid this problem, the obvious solution is to get the supporting base in the correct size. Measure the pool leg size before installing, and then get blocks that completely cover the leg. If, however, the pool is already set and then this problem presents, there is an alternative fix. You can get a pipe or an EMT conduit with dimensions that are comparable to the legs of your pool, and use that as a support for the legs. This should do the job for you.
You should consider getting these twelve 2.5-inch-tall and 15-inch-wide stones that are all the same size to avoid a lot of the hassle.
Rusty or Worn Out Pool Legs
It is a no-brainer, but if the legs of your Intex pool are worn out or damaged, they are very prone to being buckled. This is true for rusty legs too. As these are already weakened, any harsh conditions such as a thunderstorm or increased load will result in the bending of the legs.
To avoid this from happening, it is important to keep an eye on the condition of the legs of your Intex pool. If they begin to show signs of aging or damage, they need to be replaced with new ones at the earliest.
Recommended Pool Leg Replacement:
YOKIMA Vertical Leg for Intex OEM Replacement
Ensuring Long-Term Stability
Preventative Measures
To ensure the long-term stability of your Intex pool, consider these preventative measures:
- Regular Inspections: Periodically inspect your pool for any signs of wear and tear, such as rust or corrosion. Address these issues promptly to prevent structural problems.
- Proper Winterization: If you live in an area with harsh winters, make sure to winterize your pool correctly. This includes draining the pool to the recommended level and covering it securely.
- Cover When Not in Use: When your pool is not in use, cover it with a high-quality pool cover to protect it from the elements and debris.
If you found this guide helpful, you are sure to love these equally helpful guides: